Monday, May 25, 2026
Muscle tension affects nearly everyone at some point. Whether it’s a stiff neck after hours at a desk, tight hips from long training sessions, or shoulders that won’t release no matter how many times you roll them, the discomfort is real and persistent. The muscle tension relief process is not a single technique. It’s a layered approach that combines the right mindset, targeted relaxation methods, evidence-based stretching, and smart recovery tools. This guide walks you through each phase so you know exactly what to do, in the right order, for lasting results.
Table of Contents
Key takeaways
| Point | Details |
|---|
| Preparation matters | Setting up the right environment and mindset before starting maximizes relief effectiveness. |
| PMR targets the cycle | Progressive muscle relaxation breaks the tension-pain-guarding cycle by improving body awareness. |
| Modest stretching wins | Just 10 minutes of stretching per week produces real flexibility gains without the risk of overdoing it. |
| Cold before heat | Use cold therapy in the first 48 to 72 hours post-injury, then switch to heat for stiffness and soreness. |
| Consistency beats intensity | A sustainable routine combining movement, relaxation, and targeted release outperforms any single fix. |
What you need before starting the muscle tension relief process
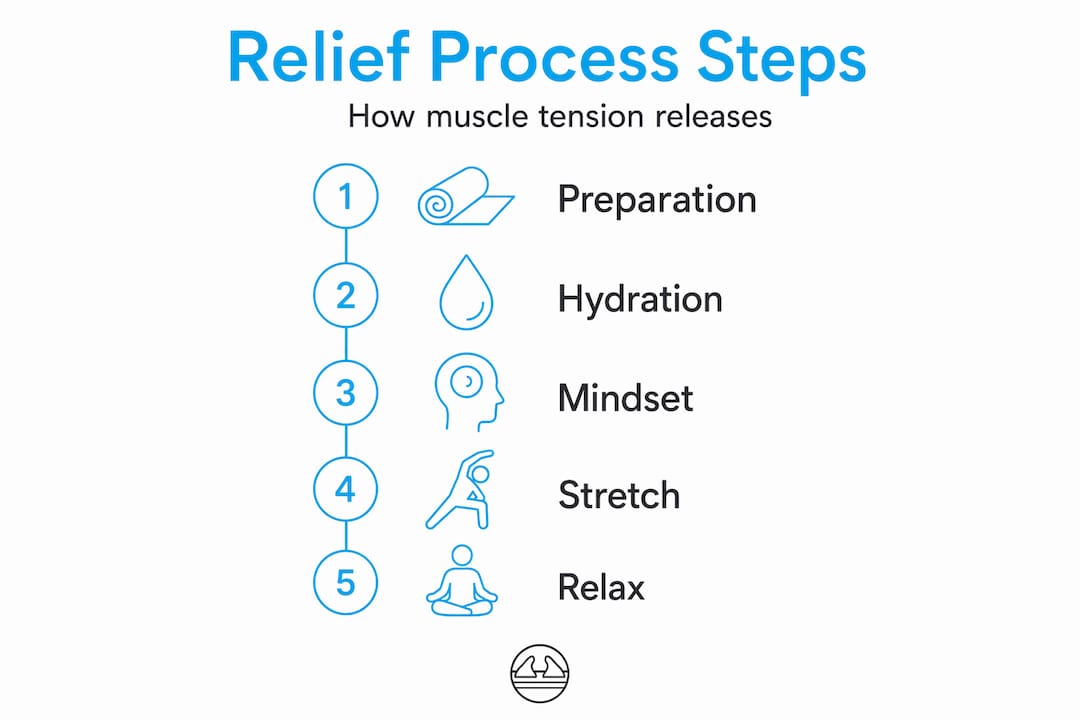
Getting results from any tension relief strategy starts well before you engage a single muscle group. Showing up unprepared reduces effectiveness and, in some cases, creates new problems.
Space and tools
You don’t need a gym. You do need a few basics:
- A firm, flat surface like a yoga mat or carpet for floor-based work
- A foam roller or targeted massage tool for spot release
- A heating pad or ice pack depending on the stage of your tension or injury
- A timer so you’re not guessing on hold durations
- Loose, comfortable clothing that doesn’t restrict movement
Hydration and nutrition
Tight muscles are often dehydrated muscles. Drinking water before and after any tension relief session supports tissue elasticity and helps flush out metabolic waste that builds up in overworked muscle fibers. Magnesium-rich foods like leafy greens, nuts, and seeds also support muscle relaxation at a cellular level. If your tension is chronic and recurring, your diet may be contributing more than you realize.
Mindset going in
This is the part most people skip entirely. Approaching your session as a quick fix leads to rushed movement and missed signals. Muscle tension relief works best when you’re calm, present, and willing to go slowly. Your nervous system needs to feel safe before it will let go of protective guarding in tight areas.
Pro Tip: Set a five-minute timer before starting any relaxation or stretching session. Sit quietly, breathe slowly, and do nothing. That brief downshift in your nervous system state makes everything that follows more effective.
| Preparation element | Why it matters |
|---|
| Flat surface | Supports proper body alignment during floor-based techniques |
| Ice or heat pack | Correct thermal therapy reduces inflammation or increases tissue mobility |
| Timer | Prevents under- or over-holding stretches and tension phases |
| Hydration | Maintains tissue elasticity and supports waste removal |
| Calm environment | Lowers nervous system arousal so muscles release more readily |
Progressive muscle relaxation and quick release techniques
These are the two most practical and evidence-backed muscle relaxation techniques available to you without equipment.
How to do progressive muscle relaxation (PMR)
PMR involves tensing each muscle group briefly, then releasing while breathing out. It’s systematic, moving through the body one area at a time. Here’s the sequence:
- Lie on your back in a quiet space, eyes closed, arms at your sides.
- Start with your feet. Curl your toes tightly for five seconds, then release fully as you exhale. Notice the difference between tension and release.
- Move to your calves. Flex them, hold five seconds, release. Exhale slowly.
- Work up to thighs, glutes, abdomen, hands, forearms, upper arms, shoulders, neck, and face. Each group follows the same tense-hold-release-exhale pattern.
- After completing all groups, lie still for two to three minutes and focus on the overall sensation of release throughout your whole body.
One full session takes 15 to 20 minutes. PMR improves body awareness and directly interrupts the tension cycle that builds under emotional stress. Research connects it specifically to relief for low back pain when combined with targeted exercise.
Pro Tip: Never force tension in an area that already hurts. Tensing injured muscles triggers protective guarding, which deepens tension instead of releasing it. Simply skip that area and return to it when it’s less acute.
When you’re at your desk or can’t get to the floor, a quick muscle relaxation technique delivers real results in under three minutes. Sitting comfortably, make a tight fist, hold for five seconds, then slowly open your hand while exhaling. Focus entirely on the sensation of release. You can apply the same method to your shoulders, jaw, or feet. Close your eyes if possible, and time each release with a slow outward breath. This approach trains your body to recognize and respond to tension signals faster over time, which is a key part of any long-term tension relief strategy.
Stretching routines for muscle tension relief
Stretching is one of the most reliable methods to reduce muscle tension, but the research on how much to do might surprise you.
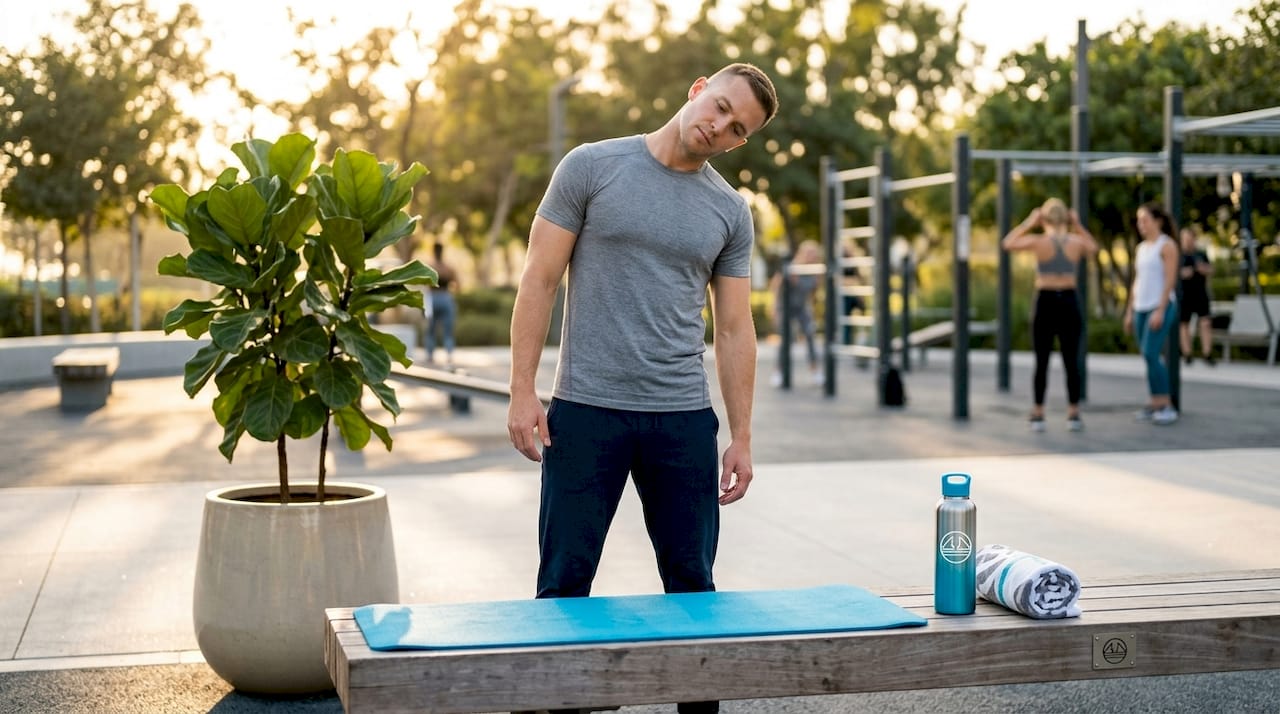
A 2024 meta-analysis of 189 studies found that roughly 10 minutes of static stretching per week produces significant chronic flexibility gains. More time does not mean more benefit. This reframes how most people think about stretching. You don’t need daily 30-minute sessions. You need consistent, focused short sessions.
Effective stretches for common tension areas:
- Upper traps and neck: Tilt your right ear toward your right shoulder, place your right hand gently on your left temple, and let gravity do the work. Hold 30 to 45 seconds per side.
- Hip flexors: Step into a low lunge, drop your back knee to the ground, and press your hips forward gently. Hold 45 seconds per side. This releases one of the most chronically tight areas for desk workers.
- Thoracic spine: Sit in a chair, cross your arms over your chest, and rotate your upper body slowly to each side, pausing at your comfortable range limit. Hold three seconds at each endpoint.
- Hamstrings: Lie on your back and pull one leg toward you with a strap or towel behind the calf. Hold 30 to 45 seconds. Avoid forcing the leg toward you.
- Chest opener: Stand in a doorway, place both forearms on the frame at shoulder height, and step one foot forward. Let your chest gently open. Hold 30 seconds.
| Muscle area | Recommended stretch | Hold duration |
|---|
| Neck and upper traps | Lateral neck tilt with gentle hand assist | 30 to 45 seconds each side |
| Hip flexors | Low lunge with forward hip press | 45 seconds each side |
| Hamstrings | Supine strap pull | 30 to 45 seconds each leg |
| Chest and shoulders | Doorway chest opener | 30 seconds |
| Thoracic spine | Seated rotation | 3 seconds per endpoint |
Proper form matters more than depth. Going too deep into a stretch activates the stretch reflex, causing the muscle to contract instead of release. Stay at the edge of comfortable tension, breathe steadily, and hold. For evidence-based stretching techniques, the emphasis is always on controlled, consistent effort over aggressive stretching.
Heat, cold therapy, and managing muscle strains
Knowing when to use heat versus cold is one of the most practically valuable things you can learn. Using the wrong one at the wrong time slows recovery significantly.
- First 48 to 72 hours post-injury (acute phase): Apply cold. Cold therapy reduces acute inflammation and limits swelling in the immediate window after a muscle strain or sudden-onset tension. Use a cold pack wrapped in cloth for 15 to 20 minutes at a time, with at least 45 minutes between applications.
- After 72 hours (sub-acute phase and beyond): Switch to heat. Heat increases blood flow, relaxes muscle fibers, and addresses the stiffness and residual soreness that lingers after the inflammatory phase has passed.
- Apply the RICE method for Grade I and II strains: Rest, ice, compression, and elevation form the baseline management protocol. Keep the area elevated when possible and use compression to control swelling during the first two days.
- Over-the-counter medication: NSAIDs like ibuprofen reduce both pain and inflammation for acute muscle strains. Acetaminophen addresses pain without the anti-inflammatory effect. Both are appropriate for short-term symptom management.
Severe muscle strains with significant swelling, bruising, or inability to bear weight on the affected area require professional evaluation. Physical therapy for muscle tension and strain rehabilitation is not optional when the damage extends beyond mild soft tissue involvement. Do not attempt to stretch or exercise a suspected Grade III tear without medical clearance.
When in doubt about severity, see a professional before beginning a self-directed recovery program.
Building a sustainable relief routine
The difference between people who manage their tension long-term and those who stay stuck in recurring pain is usually one thing: consistency with a combined approach.
Continuing movement alongside relaxation techniques is more effective for chronic tension than immobilization or passive methods alone. Your body needs input to adapt. Here’s how to build a routine that actually holds:
- Combine methods intentionally. Do PMR on rest days. Stretch three to four times per week. Use heat or targeted massage tools before movement if you’re stiff, not after.
- Track your tension patterns. Notice where tension returns most consistently. Recurring tightness in the same spot usually points to a posture or movement pattern issue, not just stress.
- Listen to discomfort signals. A stretch that causes sharp, shooting, or worsening pain is telling you something. Back off immediately.
- Build in two to three rest days per week from intense training if you’re an athlete. Muscles respond to stimulus and recovery. Without recovery, tension compounds.
- Aim for short, frequent sessions rather than long, infrequent ones. Ten minutes four times a week beats 40 minutes once a week for both flexibility and tension relief.
Pro Tip: Schedule your PMR session for right before bed. The calming effect of tension release and deep breathing directly supports sleep quality, and better sleep accelerates muscle recovery faster than almost anything else.
For a more detailed breakdown of fast tension relief methods, the step-by-step approach covers position-specific releases that complement the routines above.
My take: what actually works and what doesn’t
I’ve worked through PMR with a lot of people over the years, and the biggest mistake I see consistently is trying to use it as a quick fix the same way someone might take a painkiller. PMR is a skill. The first few sessions often feel awkward and don’t deliver dramatic results. Most people quit at exactly the point where the real benefit is about to kick in.
The second mistake is over-stretching. People feel tight, so they push harder. But muscle tension awareness during PMR shows us something important: tension is often a protective response from the nervous system, not a structural shortening. Forcing a muscle that is guarding doesn’t lengthen it. It triggers more guarding. I’ve seen this pattern delay recovery by weeks in people who were otherwise doing everything right.
What I’ve found actually works is the combination: brief PMR to lower nervous system arousal, modest and consistent stretching at the correct dose, appropriate thermal therapy timed to the injury phase, and a targeted release tool for spots that neither stretch nor relax efficiently on their own.
The stress relief and muscle tension connection is also underappreciated. People treat their shoulders or their lower back as a mechanical problem when the trigger is often emotional. Early tension detection through PMR gives you a real-time read on your stress state, which is information you can act on before a tight spot becomes a chronic problem.
Gradual, mindful work beats everything aggressive. Every time.
— Cameron
Take your relief further with Thrival
If you’ve moved through the relaxation and stretching phases and still have stubborn tight spots, a targeted recovery tool can reach what manual methods miss.
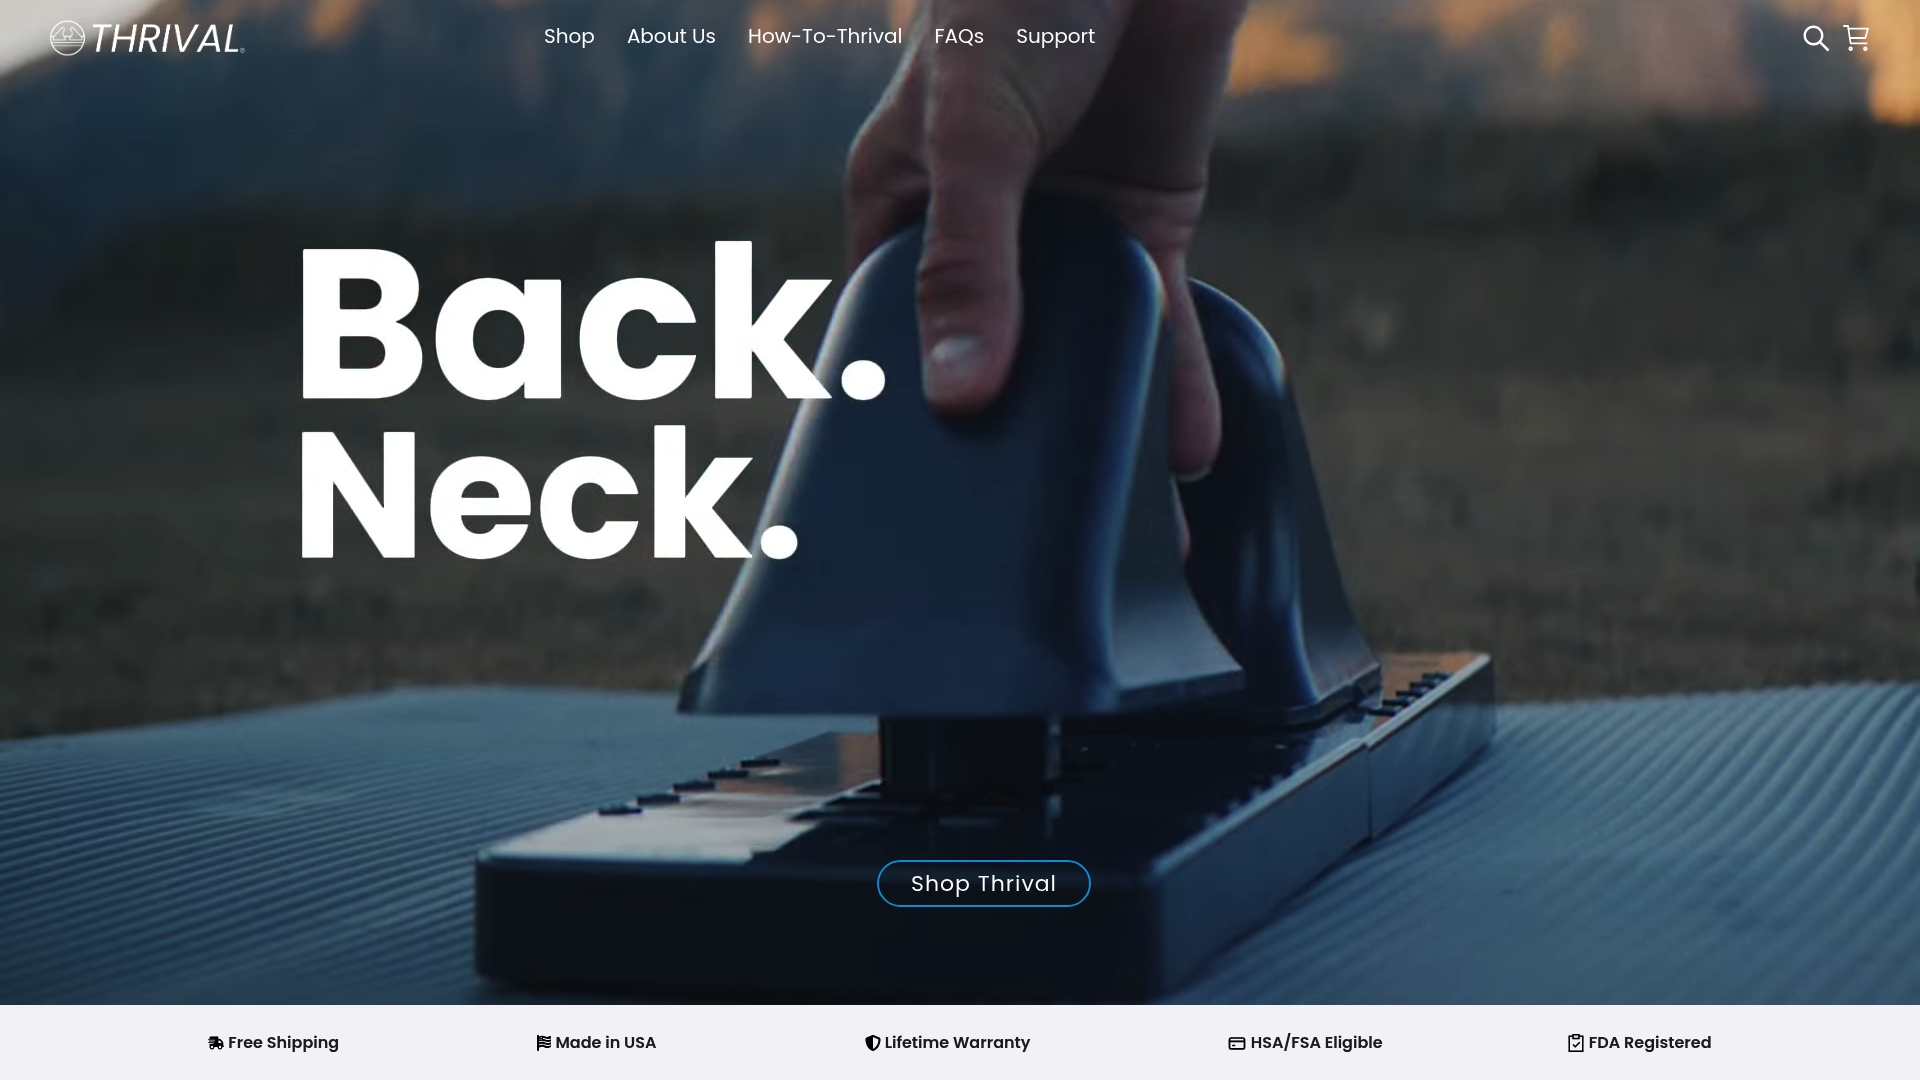
Thrival’s adjustable muscle recovery system is built around a single base board with interchangeable attachments, including the Wave, Bullseye, Arch, and Ballhead, each designed to target specific muscle groups in the back, hips, shoulders, and neck. It’s not motorized. It uses your own body weight for precise, controlled pressure that replicates professional-grade deep tissue release at home. The system pairs with an app and guided routines so you’re never guessing which attachment to use or how long to stay on a spot. Explore the Thrival recovery system and find the setup that matches your recovery needs.
FAQ
What is the muscle tension relief process?
The muscle tension relief process is a structured approach combining progressive muscle relaxation, targeted stretching, thermal therapy, and recovery tools to reduce pain and restore mobility. It works best when applied in the correct sequence based on injury stage or tension type.
How long does it take for muscles to release tension?
Acute muscle tension can begin releasing within a single PMR or stretching session. Chronic tension typically requires several weeks of consistent practice before significant improvement, particularly when combining relaxation with movement-based therapy.
Should I use heat or cold for muscle tension?
Use cold in the first 48 to 72 hours after an acute injury or sudden-onset tension to control inflammation. After that window, switch to heat to address stiffness and improve blood flow to the affected area.
How often should I stretch to reduce muscle tension?
Research supports about 10 minutes of static stretching per week for meaningful flexibility gains. Spreading that across three to four short sessions delivers better results than one long weekly session.
When should I see a physical therapist for muscle tension?
Seek physical therapy for muscle tension when pain is severe, doesn’t improve after one to two weeks of self-care, limits daily function, or follows a significant injury. A physical therapist can identify movement pattern issues that self-directed methods cannot address.
Recommended