Thursday, July 23, 2026
Recovering shoulder muscle strength and mobility after injury or surgery follows a clear, phased sequence. Skip steps or rush the timeline, and you risk stiffness, re-injury, or a plateau that keeps you out of the activities you care about. Follow the sequence below and you give your shoulder the best chance at full, durable recovery.
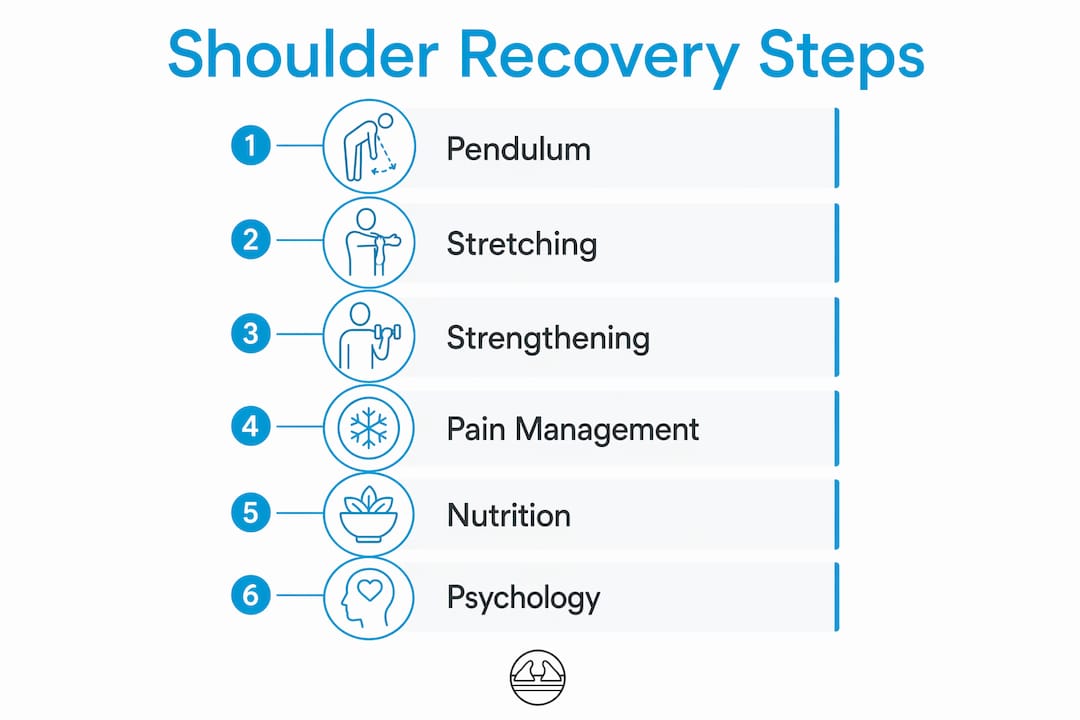
Core shoulder muscle recovery steps, in order:
- Protect and educate (weeks 0–3). Rest the shoulder from further stress, use a sling only as needed for comfort, and begin learning controlled arm movements. Wean off the sling as soon as tolerable to prevent joint stiffness.
- Start gentle pendulum and assisted range-of-motion exercises. These early movements promote circulation and prevent the secondary stiffness that makes later rehab harder.
- Progress to structured stretching (weeks 2–6). Target shoulder flexibility with crossover arm stretches, passive internal and external rotations, and the sleeper stretch, holding each for 30 seconds.
- Add resistance training with progressive overload (weeks 3–12). Begin with resistance bands for standing rows, internal and external rotations, and scapular stabilization. Start at 2–3 reps and build toward 2 sets of 15 reps as strength returns.
- Manage pain and monitor warning signs throughout. Avoid ice in the first 72 hours after injury, then use cold or heat therapy as needed to manage discomfort. Stay within tolerable pain limits at every session.
- Support healing with nutrition, hydration, and sleep. Consume protein and carbohydrates within 30–45 minutes after exercise to accelerate muscle repair.
- Clear functional criteria before returning to sport or heavy work. Physical readiness and psychological confidence both matter before stepping up intensity.
What are the key shoulder muscle recovery steps and exercises?
Shoulder rehabilitation works best when exercises follow a deliberate order: mobility before strength, low load before high load, and pain-free range before resistance. The AAOS shoulder conditioning program structures this progression clearly, and the steps below align with it.
Step 1: Pendulum exercise
The pendulum is the first active movement most clinicians introduce after shoulder injury or surgery. It uses gravity rather than muscle effort to gently mobilize the joint.
- Stand next to a table or counter and lean forward, placing your unaffected hand on the surface for support.
- Let your injured arm hang freely at your side.
- Gently swing the arm forward and back, then side to side, then in small circles.
- Keep the movement relaxed. The arm should swing from momentum, not from active shoulder muscle contraction.
- Perform 5–10 repetitions in each direction, 3 times per day.
Pro Tip: Keep your shoulder muscles completely relaxed during pendulum swings. Tensing up defeats the purpose and can aggravate inflammation. Think of your arm as a pendulum on a clock, moving from its own weight.
Step 2: Stretching exercises

Once early swelling settles, structured stretching restores the range of motion you need before strengthening can begin safely.
Crossover arm stretch
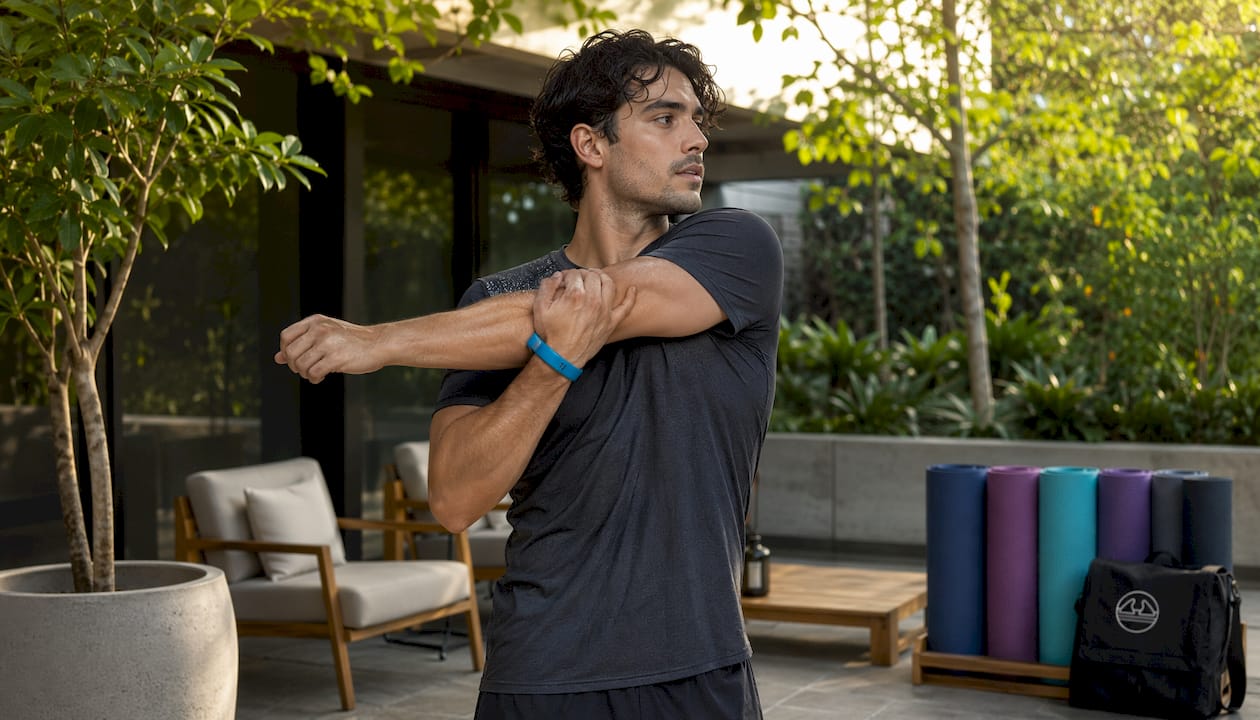
- Relax your shoulders and gently pull your injured arm across your chest, holding at the upper arm.
- Hold for 30 seconds, then relax for 30 seconds.
- Repeat 3–5 times per session.
Passive internal rotation
- Hold a stick or cane behind your back with your unaffected hand, and lightly grasp the other end with your injured hand.
- Pull the stick horizontally until you feel a gentle pull in your shoulder, stopping before pain.
- Hold for 30 seconds, relax for 30 seconds, and repeat on both sides.
Passive external rotation
- Grasp the stick with your unaffected hand and cup the other end with your injured hand.
- Keep your injured elbow pressed against your side and push the stick outward until you feel a stretch.
- Hold for 30 seconds, relax for 30 seconds.
Sleeper stretch
- Lie on your side on a firm surface with the affected shoulder underneath you and your arm bent at 90°.
- Use your unaffected arm to gently press your forearm downward until you feel a stretch in the back of your shoulder.
- Hold for 30 seconds, then relax for 30 seconds.
All stretching exercises should be performed within tolerable pain limits. Never force a stretch or push through sharp pain.
Step 3: Strengthening exercises with resistance bands
Strengthening begins once you have adequate pain-free range of motion. Resistance bands are the standard starting tool because they allow smooth, controlled loading without the joint compression that free weights can create.
Standing row
- Loop a resistance band around a stable doorknob at waist height.
- Stand holding the band with your elbow bent and at your side.
- Slowly pull your elbow straight back, squeezing your shoulder blade.
- Return slowly to the start. Perform a moderate number of repetitions per set, gradually increasing the volume over several sessions.
External rotation (elbow at side)
- Attach the band to a doorknob.
- Hold the band with your elbow bent at 90° and pressed against your side.
- Slowly rotate your forearm outward, away from your body.
- Return slowly. Repeat 5–10 reps per set.
Internal rotation
- Same band setup, but rotate your forearm inward across your body.
- Keep your elbow anchored at your side throughout.
- Perform 5–10 reps per set.
External rotation with arm abducted to 90°
- Hold the band with your elbow bent at 90° and raised to shoulder height.
- Slowly raise your hand until it is level with your head.
- Return slowly. This targets the rotator cuff in a more demanding position.
Scapular stabilization: scapula setting
- Lie face down with your arms at your sides.
- Gently draw your shoulder blades together and downward as far as comfortable.
- Ease halfway off that position and hold for 10 seconds.
- Relax and repeat 10 times.
| Exercise | Starting reps | Target reps | Sets | Frequency |
|---|
| Pendulum | 5–10 per direction | 10 per direction | 1 | 3x daily |
| Crossover arm stretch | 3–5 holds | 5 holds | 1 | 3x daily |
| Sleeper stretch | 3 holds | 5 holds | 1 | 3x daily |
| Standing row (band) | 5–10 | 15 | 2 | 3x weekly |
| External rotation (band) | 5–10 | 15 | 2 | 3x weekly |
| Internal rotation (band) | 5–10 | 15 | 2 | 3x weekly |
| Scapula setting | 10 | 10 | 2 | Daily |
Pro Tip: Perform all strengthening exercises slowly and with control. A 2-second lift and a 5-second lowering phase builds more tendon and muscle strength than fast, momentum-driven reps, and it keeps stress on the tissue rather than the joint.
The AAOS conditioning program recommends continuing shoulder rehabilitation for 4–6 weeks, with 2–3 sessions per week for maintenance after recovery is complete.
How do you manage pain and stay safe during shoulder rehab?
Pain management during shoulder injury rehabilitation is not about eliminating all discomfort. It is about staying within a range that allows healing without causing setbacks.
Ice and heat: timing matters
Avoid applying ice in the first 72 hours after injury. Early cold therapy can impair the natural healing process by suppressing the inflammatory response your body needs to begin tissue repair. After that initial window, you can apply an ice pack wrapped in a damp towel for up to 15 minutes every few hours. Heat, such as a warm water bottle or heat pack, can also help ease persistent muscle tension and discomfort.
Sling use and early movement
Wean off your sling as soon as your clinician allows, ideally within 72 hours of a soft tissue injury. Prolonged immobilization leads to joint stiffness, which becomes one of the biggest barriers to full recovery. Early controlled movement, within tolerable pain limits, promotes circulation and prevents the secondary complications that come from keeping the shoulder locked in one position.
Warning signs that require professional attention
- Sudden increase in pain or swelling after a previously improving trend
- Numbness, tingling, or weakness spreading into the arm or hand
- Fever or warmth around the shoulder joint
- Loss of movement that was previously improving
- Pain that does not respond to rest or over-the-counter pain relief after several days
Exercise frequency and fatigue
Aim for several repetitions of each exercise multiple times per day during early recovery. As you build strength, perform resistance-based work multiple times per week, ensuring adequate rest between sessions. Active recovery at low intensity, around 40–50% of your maximum effort, for 20–45 minutes can enhance circulation and reduce soreness between harder sessions without overtaxing healing tissue.
Pro Tip: Rate your pain on a 0–10 scale before and after each session. If pain rises more than 2 points above your baseline and stays elevated for more than an hour after exercise, you have done too much. Scale back the next session.
Psychological readiness is also a genuine factor in safe progression. Research confirms that mental confidence alongside physical strength testing is part of a complete return-to-activity assessment. Feeling ready matters as much as measuring ready.
For additional guidance on managing discomfort during rehab, Thrival’s pain relief tips for athletes covers clinically supported strategies that apply directly to shoulder recovery.
What does a realistic shoulder recovery timeline look like?
The British Elbow and Shoulder Society published rehabilitation guidelines in 2026 that organize shoulder recovery into four sequential phases. These apply to both surgical and non-surgical management, with some variation in timing based on injury severity and individual factors.
| Phase | Timeframe | Focus | Key milestones |
|---|
| Acute protection and education | Weeks 0–3 | Rest, sling use (if needed), early gentle movement | Controlled arm motion, pain managed, sling weaned |
| Movement and early strengthening | Weeks 3–6 | Range-of-motion exercises, beginning resistance work | Pendulum, stretching, light band exercises tolerated |
| Progressive strengthening | Weeks 6–12 | Increased resistance, functional activity integration | 2 sets of 15 reps achieved, daily tasks pain-free |
| Return to sport and high-level function | Week 12 onward | Sport-specific loading, criteria-based progression | Full strength, psychological readiness confirmed |
Soft tissue injuries typically heal within six weeks, though recovery can continue for up to three months, and return to contact or racket sports often takes longer. These timelines assume consistent adherence to a structured rehab program.
Variability is real. Someone recovering from a minor rotator cuff strain will progress faster than someone post-surgery for a full-thickness tear. Age, fitness level before injury, and how closely you follow the phased protocol all affect where you land in that range. The timeline above is a framework, not a guarantee.
One consistent finding across clinical guidelines: early controlled movement within the first 72 hours after injury prevents joint stiffness and secondary complications. Waiting too long to start gentle exercises costs you mobility that becomes progressively harder to reclaim.
What does the evidence say about shoulder recovery best practices in 2026?
The strongest clinical guidance available in 2026 points clearly toward active rehabilitation over passive treatment. Active rehabilitation with resistance training and motor control exercises outperforms over-reliance on imaging and passive modalities for shoulder tendinopathy. The American Physical Therapy Association’s 2026 clinical practice guideline on rotator cuff tendinopathy specifically notes that avoiding unnecessary diagnostic imaging early in the process reduces over-medicalization without compromising outcomes.
What the research says about recovery modalities
Not all recovery tools work the same way, and timing changes their effectiveness significantly.
| Modality | Best use case | Key evidence finding |
|---|
| Cold water immersion (CWI) | Acute inflammation control | Significantly suppresses IL-6 at 48 hours post-exercise |
| Massage therapy | Muscle repair and central modulation | Reduces creatine kinase and increases GABA post-exercise |
| Functional electrical stimulation (FES) | Restoring muscle power | Best performance in peak concentric power recovery post-exercise |
| Vibration therapy | Neuromuscular responsiveness | Reduces muscle contraction time at 72 hours post-exercise |
| Compression garments | Soreness and swelling reduction | Modest but consistent benefit; practical for overnight use without impairing adaptation |
| Active recovery (low intensity) | Between-session fatigue reduction | High effect sizes for soreness and fatigue vs. passive rest |
One important caveat on cold water immersion: using it more than twice weekly during a strength-building phase can blunt muscle hypertrophy by reducing gains. Reserve CWI for acute flare-ups and high-inflammation periods, not as a daily habit during progressive strengthening.
Nutrition and hydration for muscle repair
Nutrition timing has a direct effect on how well your shoulder muscles repair between sessions. Consuming protein and carbohydrates within 30–45 minutes after exercise is one of the highest-leverage interventions available. The recommended intake is 0.3–0.4 g of protein per kilogram of body weight combined with 1.0–1.2 g of carbohydrate per kilogram. For a 170-pound (77 kg) person, that works out to roughly 23–31 g of protein and 77–92 g of carbohydrate in that post-exercise window.
Sleep is the other non-negotiable. Tissue repair, hormone release, and neural recovery all peak during deep sleep. Cutting sleep short during rehab slows every other part of the process.
The psychological side of returning to full function
Physical strength alone does not clear someone for return to sport or demanding physical work. Research confirms that psychological readiness, including confidence and mental preparation, is part of a complete return-to-activity assessment. Clinicians increasingly use mental readiness tools alongside physical strength and range-of-motion testing to make that call. If you feel hesitant or fearful about loading your shoulder, that signal deserves attention, not dismissal.
For a broader look at how active recovery fits into the full rehabilitation picture, Thrival’s guide on active recovery benefits covers the science behind low-intensity movement between sessions. Pair that with a structured sports injury recovery protocol and you have a complete framework for getting back to full function.
For clinical guidance on long-term shoulder health and rotator cuff rehabilitation, working with a physical therapist who follows evidence-based protocols makes a measurable difference in outcomes.
Thrival supports your shoulder recovery at every stage
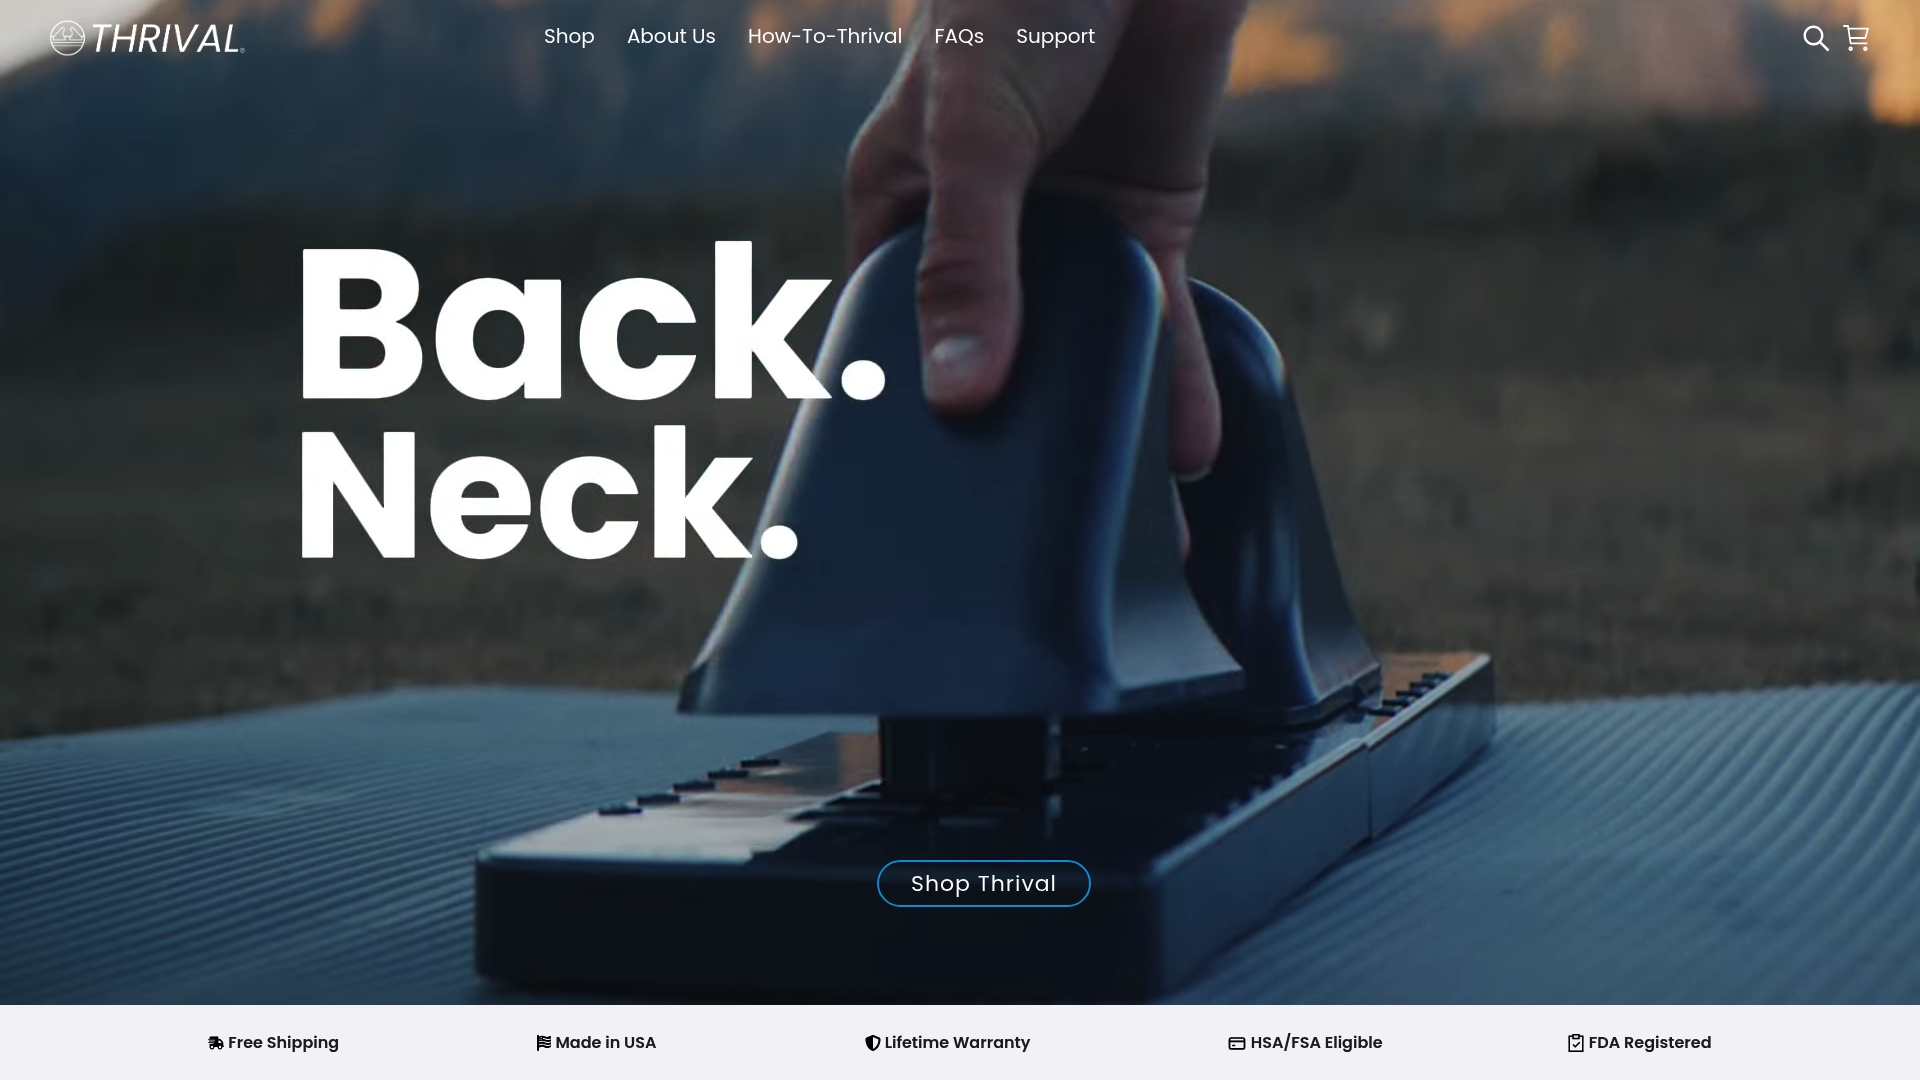
Thrival’s deep tissue recovery tools are built for exactly this kind of structured, progressive rehabilitation. The Thrival system uses a single base board with interchangeable attachments, including the Thrival Wave, Bullseye, Arch, and Ballhead, so you can target the specific muscle groups involved in shoulder recovery: the rotator cuff, scapular stabilizers, and surrounding soft tissue. Every tool is FDA-registered, manufactured in the United States, and backed by a lifetime warranty.
The Thrival Deep Tissue Pro is designed to deliver professional-grade targeted muscle release without a motorized device, replicating the deep pressure of manual therapy at home. Pair it with the Thrival app for guided routines that align with your rehab phase, and you get a recovery system that works alongside your clinical program, not against it.
Free shipping. Lifetime warranty. Built to last through every phase of your recovery.
Key Takeaways
Structured, phased rehabilitation is the most reliable path to full shoulder muscle recovery after injury or surgery, combining early movement, progressive loading, and targeted pain management.
| Point | Details |
|---|
| Start movement early | Gentle exercises within the first 72 hours prevent joint stiffness and secondary complications. |
| Follow the four phases | Acute protection, early strengthening, progressive loading, and return to function form the clinical standard. |
| Time your cold therapy | Avoid ice in the first 72 hours after injury; after that window, apply cold or heat for up to 15 minutes every few hours as needed. |
| Fuel recovery after exercise | Consume 0.3–0.4 g protein/kg and 1.0–1.2 g carbohydrate/kg within 30–45 minutes post-session. |
| Confirm readiness before returning to sport | Psychological confidence alongside physical strength testing is part of a complete return-to-activity assessment. |
Recommended